Table of Contents
ToggleLast Updated on March 9, 2024
WordPress Errors and Solutions
Word of caution –
Before you dive into the process of fixing WP issues, make sure you take a complete backup of your website.
There is no denying that WordPress is the most popular and reliable CMS (content management system) right now. While using WordPress, you may run into certain issues and might not know how to resolve them.
We understand your situation and you don’t need to panic. We have put together the most common WordPress errors and how to fix them in easy steps.
Table of Contents
- 1- White Screen of Death
- 2- Error establishing database connection
- 3- Internal Server Error
- 4- 404 page not found
- 5- 503 Service unavailable
- 6- 502 Bad Gateway
- 7- 504 Gateway timeout
- 8- 403 Forbidden
- 9- Connection timed out
- 10- Scheduled Maintenance Error
- 11. Login page refreshing/redirecting issue
- 12- Too many redirects
- 13- Image upload issues
- 14- Maximum execution time
1- White Screen of Death
When you encounter a WordPress White Screen of Death (WSoD), you will have a plain white screen and there will be no message on the screen. This is what makes it a bit tricky as you have to face a perplexing situation as to where to look and what to fix.
According to WordPress experts, you may have to face this particular situation whenever a script exhausts the PHP memory limit. You may have to face this situation because of the configuration on the server.
First and foremost, you need to increase PHP memory limit.
With the help of FTP, open your wp-config.php file. Now, add the below-mentioned code within PHP tags –
define('WP_MEMORY_LIMIT', '64M');
Using the above code, your memory limit should increase to 64M.
In case you continue facing the same issue, a newly-installed theme or plugin might be the reason behind the issue.
At this stage, you need to alter your existing theme to the default one. You also have the option of disabling your Plugins. For this, you need to go to Plugins and then to install plugins. Hit Bulk Actions to select all installed plugins and then select Deactivate.
In case the issue persists, visit wp-config.php file once again, this is where you need to add the following code within the PHP tags –
define('WP_DEBUG', true);

define('WP_DEBUG_LOG', true );
Since your WordPress website is in debug mode, you will be able to see warnings and messages instead of a simple blank page. This is how you will make the whole process of tracing the cause and fixing it eventually.
2- Error Establishing Database Connection
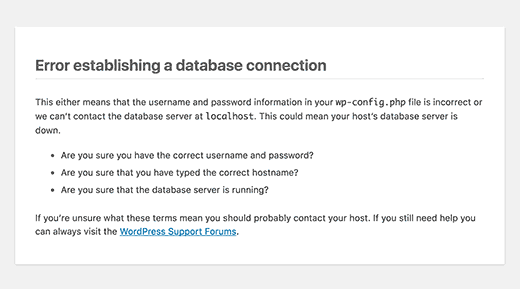
This is one of the issues that bothers WordPress users erratically. You will usually see this error when your WordPress Website can’t connect with your database.
There are a plethora of reasons behind this particular issue, such as – an unresponsive or corrupt database server, wrong database login credentials.
How to Fix the Issue
In case the login credentials are incorrect, you need not to worry as the credentials can be corrected. All you need to do is to edit the below-mentioned code in the wp-config.php file –
define('DB_NAME', 'database-name');

define('DB_USER', 'database-username');

define('DB_PASSWORD', 'database-password');

define('DB_HOST', 'localhost');
In case you have made any changes of late, you need to ensure they reflect in the wp-config.php file. However, even after fixing typos and making corrections in the wp-config.php file the issue persists then, in that case, you will have to Repair WordPress Database.
You will have to go to your wp-config.php file once again where you need to add the below-mentioned code –
define('WP_ALLOW_REPAIR', true);
Once you have done this, you will have to open –
http://www.XYZ.com/wp-admin/maint/repair.php.

As you can see two buttons in the image, you can repair your database by clicking on either of the buttons. When you are done, your next step will be to remove the WP_ALLOW_REPAIR code from the wp-config.php file.
If you are still experiencing the issue, chances are that the issue is at the server end for which you need to get in touch with your Website hosting provider.
3- Internal Server Error

This particular issue is also known as “500 internal server error” and it is not restricted to only WordPress websites. It can occur when your server is not able to make out the issue. When you face this particular situation, you are often left with nothing to work with.
However, some of the common causes behind internal server error comprise of –
- Corrupted .htaccess file.
- Corrupted theme or plugin functions.
- Exhausted memory limit.
How to Fix the Issue
Let us begin fixing this issue with the common cause i.e. corrupted .htaccess file.
Your first step is to open the .htaccess file, you need to rename it as .htaccess_old. Once you have renamed it, refresh your website.
If you can successfully fix the issue, you need to go to Settings then to Permalinks. Upon reaching, hit save but make sure you are not supposed to make any changes in the settings. This action will reset the .htaccess file.
If you are not able to fix the issue, you can increase your memory limit. For this, you can follow the exact steps you have followed to fix WSoD.
In case you are still not able to fix the issue, deactivate all the plugins. If you are able to successfully fix the issue, then one of the plugins was the culprit.
At this stage, reactivate all the plugins singly to see exactly which plugin was causing the issue. Make sure you delete that plugin to avoid any future errors.
4- 404 Page Not Found
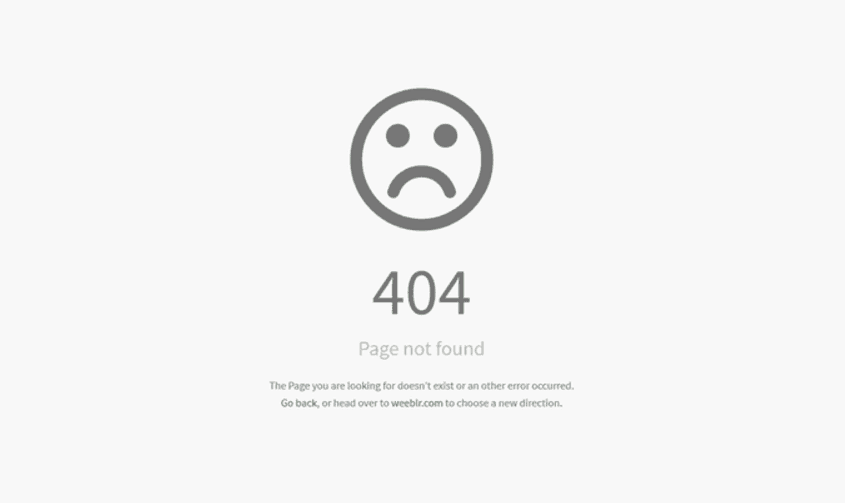
This is one of the common WordPress errors. If you encounter this particular issue, it means that the server was unable to locate the page requested by you.
There are two key reasons why you come across this particular issue – updated URLs and broken links. That said, you may come across the issue even if you are not facing any issue with the page.
If this is the case, most probably .htaccess file is the key reason behind this issue that tends to redirect your URLs wrongly.
How to Fix the Issue
To Fix Error 404 Page Not Found In WordPress, You need to reset the .htaccess file and for this, you can follow steps mentioned above for Internal Server Error. As an option, go ahead and create a new .htaccess file.
Using the text editor, create a new file with the below-discussed code –
# BEGIN WordPress

<IfModule mod_rewrite.c>

RewriteEngine On

RewriteBase /

RewriteRule ^index.php$ - [L]

RewriteCond %{REQUEST_FILENAME} !-f

RewriteCond %{REQUEST_FILENAME} !-d

RewriteRule . /index.php [L]

</IfModule>

# END WordPress
At this stage, save the file as .htaccess. Now, you have to upload this file to the root folder of your website and check if this helped in fixing the issue.
5- 503 Service Unavailable
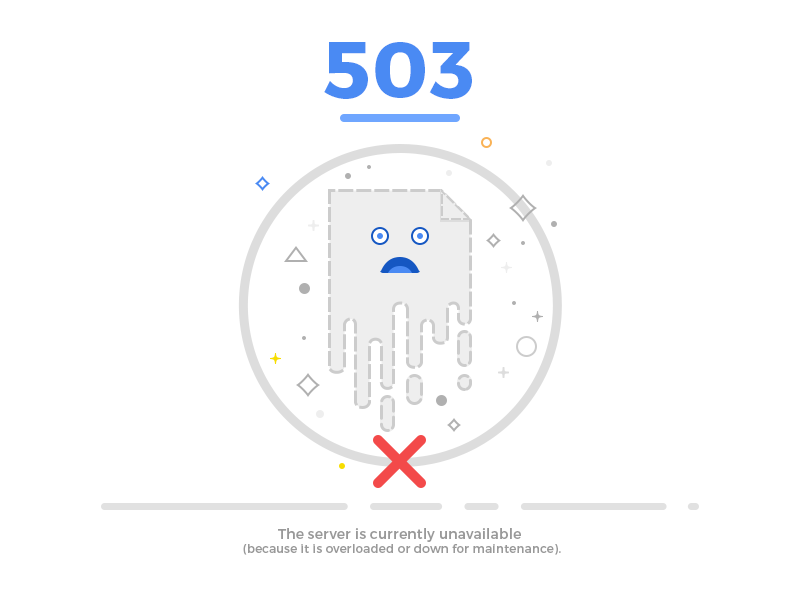
If the server hasn’t received the right response from a PHP script, then you come across “503 Service Unavailable error in WordPress site“. The reasons behind this issue can be – broken code snippets, a plugin, or a theme.
The issue will resolve on its own if the reason behind the issue is a WordPress DDoS Attack, heavy usage, or a server problem. Or else, custom codes, faulty plugins, and themes may be causing the issue.
How to Fix the Issue
Since, WP plugins and themes consist of PHP scripts, disabling and then enabling them again singly will help you in finding the faulty one.
A 503 will play as a hindrance while accessing the admin page, so in this case, you will have to access your website files using FTP.
- First and foremost, you need to go to the root folder of your website, then proceeding to the wp-content folder.
- Make a selection for the plugins folder and rename it to plugins_old.
- Here, you will have to create a new folder and name it plugins.
- Go to your WordPress website, if you are able to access it then it means that the issue was caused by a faulty plugin.
- Return to your FTP client. Now, you have to delete the empty plugins folder.
- You need to rename the plugins_old folder and name it plugins. When you perform this action, this will recover all your installed plugins. That said, they will remain inactive.
- At this stage, you need to first go to the Admin area and then to the Plugins page.
- You need to activate all the plugins singly and make sure you visit your website at regular intervals. You will have to keep doing it until you have finally found the plugin that was causing the error.
6- 502 Bad Gateway Error
You will come across this particular error when the server has received an invalid response for the requested page. But, the key cause of 502 Bad Gateway error is when the server takes too long to respond to the request without exhibiting any other error.
The delay can be due to the following mentioned reasons –
- Mis-configuration of the server.
- High traffic.
- Poorly coded plugin or theme.
How to Fix the Issue
Your first step will be to check the server whether it is lagging due to the high traffic.
You can refresh your website to see whether the issue was resolved. With low server resources, it is important to upgrade website hosting. This will help you avoid any downtime in the future.
In case, you don’t see any change, go ahead and clear your browser’s cache. Chances are your browser may be loading the website from there, which has caused the issue.
If the issue persists, you can choose to Disable Themes and Plugins in WordPress.
7- 504 Gateway Timeout Error
You will see 504 Gateway Timeout Error in WordPress Site when the server is not able to connect to an upstream server to process a request.
How to Fix the Issue
Chances are that this particular issue is a temporary malfunction on your WP hosting server. Ideally, you should wait for a couple of minutes before you reload your website.
In case this doesn’t fix the issue, deactivate any of the below-mentioned proxy servers –
- Website firewall.
- Network Proxy.
- VPN.
If the issue is still there, try to Change DNS Server Settings. Chances are they may be down or have some problems connecting to your website.
If you are a Windows user, follow the below-mentioned steps –
- Your first step involves opening up the Control Panel, go to Network and Sharing Center, and finally go to General.
- You need to make a selection for Use the following DNS server automatically.
- Input 8.8.8.8 and 8.8.4.4 as your DNS server address.
- In the end, apply the changes.
In case you are a Mac user, follow these steps –
- First, go to the Settings and then to Network.
- Hit the Advanced button and make a selection for the DNS tab.
- At this stage, you need to change the address of the DNS server to 8.8.8.8 and 8.8.4.4.
- Once you are done, apply the changes.
If you still have the same situation, try tracing your plugins or themes.
8- 403 Forbidden Error
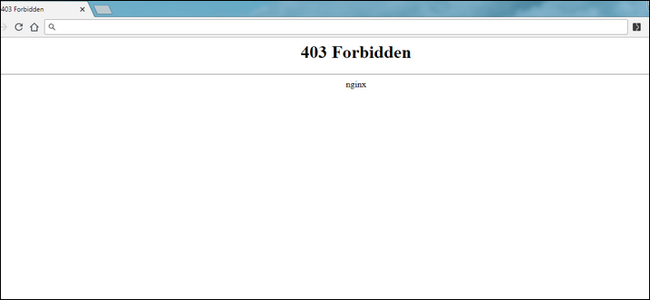
403 forbidden error message usually happens on your WebPage, when you are denied permissions to access a particular page. When you face this issue, you will the following message on your screen –
Pretty much like most of the website errors, key causes of this error are –
- Corrupt .htaccess file.
- Wrong server file permissions.
- Poorly-configured security plugin’s.
How to Fix the Issue
One of the causes of this issue is a poorly-coded security plugin. This takes place when one or more IP addresses are treated to be malicious and blocked by the plugin.
In case the plugin’s are working fine, try resetting .htaccess file. You can follow the steps mentioned in the point – Internal Server Error. Or else, you may have to make rectification in your file permissions.
Open your FTP client and follow the below-mentioned steps –
- First and foremost, go to the folder where you have your WP website. Right-click on the folder and make a selection for File Permissions.
- You will have a numeric field where you have to enter 755 or 750.
- You will have to check the checkbox next to Recurse into subdirectories and then finally clicking apply to directories only.
- In the end, save the changes you have made.
So, you have executed the right file permissions to your directories. For your files, follow the below-mentioned steps –
- You need to repeat the first step mentioned above.
- You will have a numeric field where you have to enter 644 or 640.
- You will have to check the checkbox next to Recurse into subdirectories and then finally clicking apply to files only.
- In the end, save the changes you have made.
9- Connection Timed Out
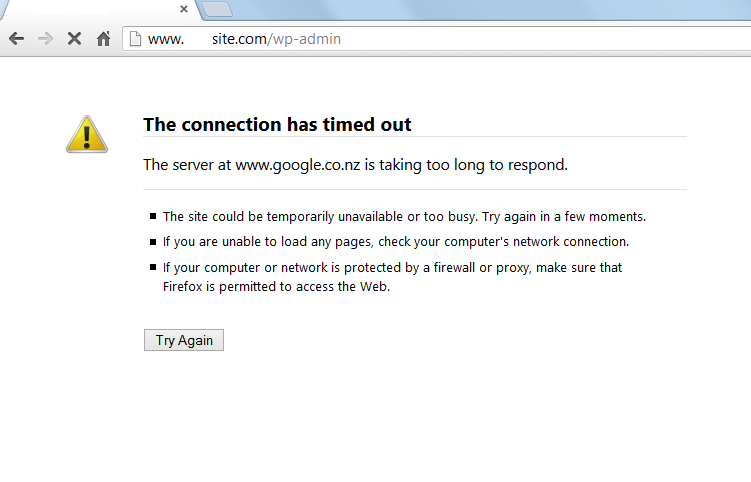
When you try to open a website and you are not able to do it, you will encounter this message
-“ERR_CONNECTION_TIMED_OUT”.
This means that the server is having a hard time loading the website.
This particular error can be many reasons, some of them are as follows –
- Exhausted memory limit.
- Lacking site resources.
- Heavy themes or plugins.
How to Fix the Issue
Your first move will be to deactivate all your plugins or themes and find out which is wearing down your server.
Try increasing your PHP memory limit as discussed in the White Screen of Death.
If you fail to see any positive result, your website may not have the right resources to function properly. This is the right time to have a new website hosting plan.
10- Scheduled Maintenance Error
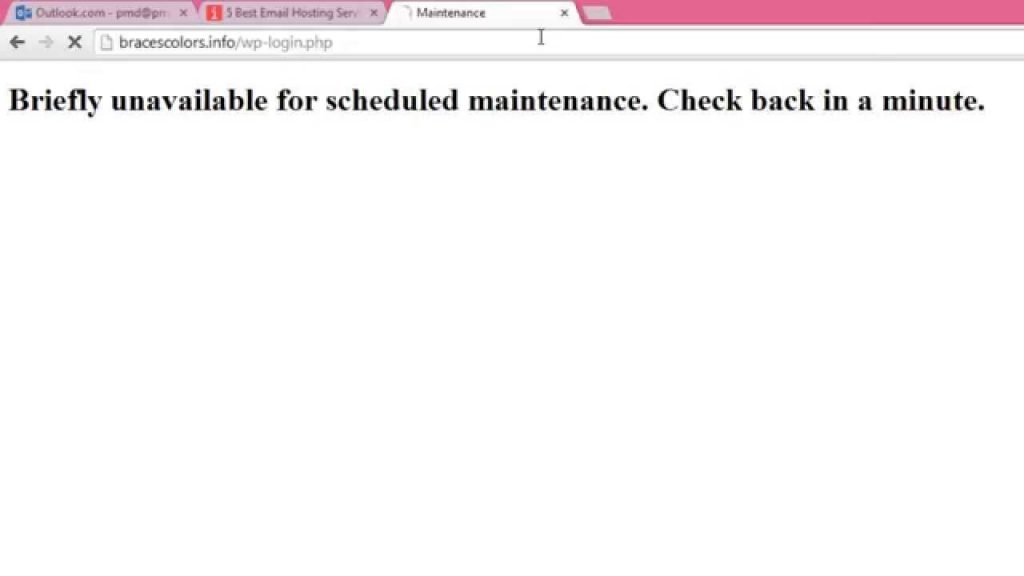
Whenever you make changes to your theme, plugin, or software, WP
Owing to an incomplete or broken WP update, you may come across a WordPress error – “Briefly Unavailable for Scheduled Maintenance”.
When an update takes place, WP tends to put your website under maintenance mode. If owing to any reason, the update is interrupted, then in this situation, WordPress loses the chance of getting your website out of the maintenance mode. Eventually, your website will be locked by this error and both admins and the users will not be able to access the website.
If in case something happens like this, you should be aware of WordPress Website Maintenance Costs – How Much Should You Pay.
How to Fix the Issue
You will have to delete the .maintenance file. You can do this by going through the FTP folder and then to the root folder of your website.
This action will deactivate the maintenance mode and your website will return to normal.
This is where you have to go back to the interrupted update and try reinstalling it.
11. Login Page Refreshing/Redirecting Issue
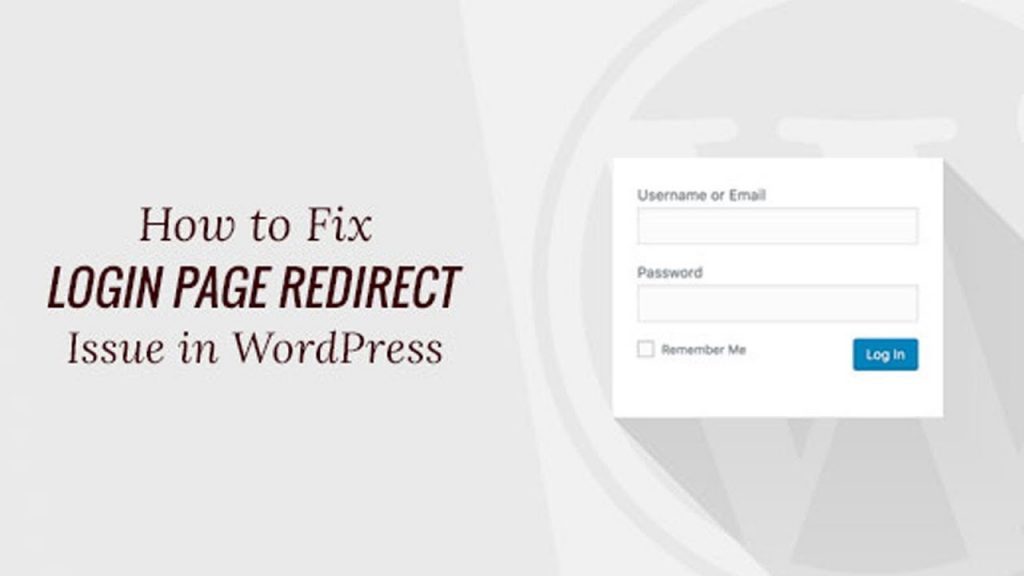
If you try to login to your admin page, but you are redirected back to the same page, then this shows you are facing a WordPress login refreshing and redirecting issue. This is one of the common issues faced by WP users.
In case wrong values are being set for both site URL and home URL in the table, you will encounter this particular issue.
Besides, this issue can also be caused by inappropriate set up of the permalinks or redirects set up in the .htaccess file.
How to Fix the Issue
Since WordPress uses cookies while validating the login page, so you need to clear your cache and cookies to reset the login.
In case nothing happens then in that scenario, you will have to deactivate your plugins or revert to default themes. If it is the faulty one, then it means it was the cause of the error.
Like mentioned earlier, the issue can also be caused due to a corrupted .htaccess file. So, you will have to reset the file using the files mentioned in Internal Server Error.
If you are still facing the issue, you have to use the option of defining the URL of your website.
Using FTP, go to the root folder and open wp-config.php. Add the below-mentioned code in the PHP tags –
define('WP_HOME','http://yoursite.com');

define('WP_SITEURL','http://yoursite.com');
Note: If your website does not have www, make sure it is not added to the code.
12- Too Many Redirects
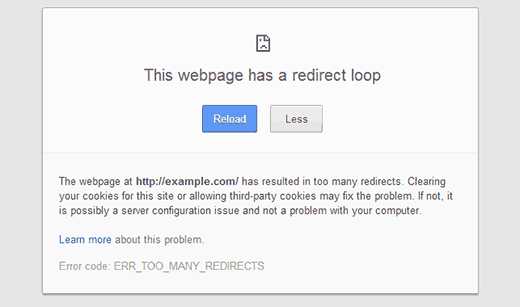
You will face this issue when the page is not redirecting properly. The main cause of this issue is a misconfigured redirection issue – either within a URL structure or an installed plugin having a redirect function.
In this case, your browser is stuck between two pages and usually ending up in a redirect loop.
How to Fix the Issue
In case you are able to access your admin page,
go to Settings and check two fields – Site Address i.e. URL and WordPress Address (URL).
Check closely, if they show the correct address of your website, then update as required.
In case you don’t have the access to your admin page, in that case, use FTP to access your website.
Go to the root folder and open wp-config.php. Add the below-mentioned code in the PHP tags –
define('WP_HOME','http://yoursite.com');

define('WP_SITEURL','http://yoursite.com');
In case nothing happens, chances are you may be looking at a faulty plugin issue. You can find it through the steps mentioned in 503 Service unavailable.
13- Image Upload Issues
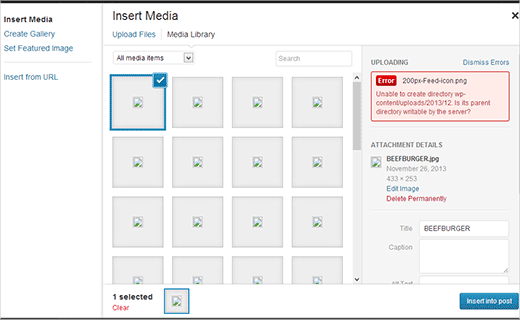
Have you ever face the WordPress Image Upload Error issue while uploading images in the WordPress website? You have face this issue when all your images in Media Library are broken.
Whenever a user uploads an image, he faces an error. Key reasons behind this particular error are wrong file and directory permissions in your shared hosting server.
How to Fix the Issue
Through FTP, you will have to apply the right file permissions.
You will have to set the file permissions for the upload directory and subdirectories and for that, you need to follow the below-discussed steps –
- Go to the root folder to open the wp-content folder.
- Right-click on the uploads folder and then selecting File Permissions. You will have the File Permissions dialogue box.
- The numeric value should be changed to 744 or 745.
- Tick the checkbox beside Recurse into subdirectories, then click Apply to directories only.
- In the end, save the changes you have made.
Now, you have to set the file permissions for all files inside the uploads directory. For this, follow the below-discussed steps –
- Perform the same Step 1 and 2 as discussed above.
- The numeric value should be changed to 644 or 640.
- Tick the checkbox next to Recurse into subdirectories, then click Apply to files only.
- In the end, save the changes you have made.
14- Maximum Execution Time
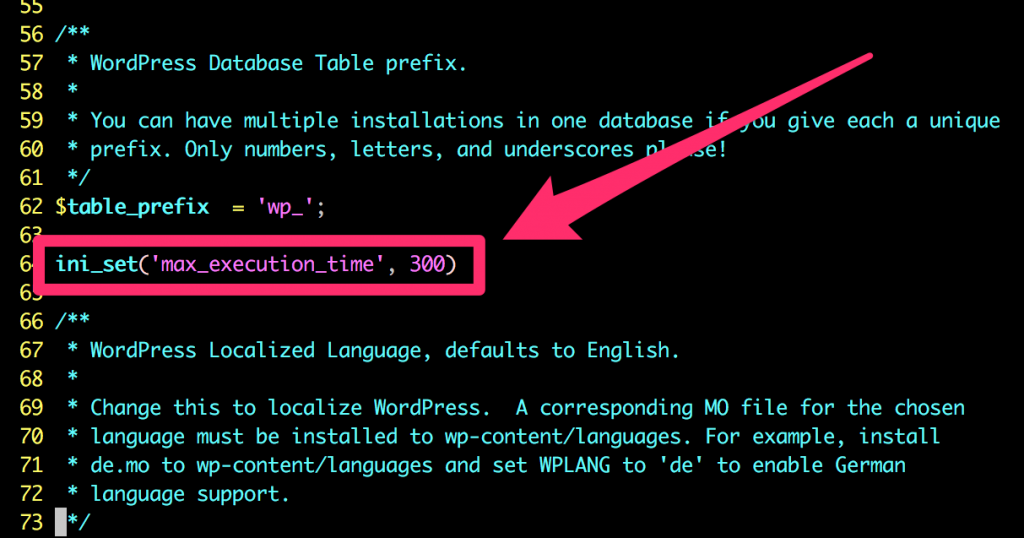
If you have encountered error messages such as – This website is experiencing technical difficulties or Fatal error: Maximum execution time of 30 seconds exceeded, this means that a PHP script has surpassed its maximum limit set by the server.
Most of the hosting providers set a limit, between 36-60 seconds, that offers protection to your server from resource abuse. This limit is apt for a good PHP code to run.
However, in case you have installed plugins on your website, you will have to increase this limit.
How to Fix the Issue
You will have to edit the .htaccess file to increase your execution limit.
Go to the root folder of your website through FTP
open the mentioned file to add the below-mentioned code –
php_value max_execution_time 300
When you add the above code, the execution time will increase to 300 seconds.
You also have another option i.e. to edit the php.ini file. Since, you will not get this code from the hosting platforms, creating your own is the only option you have.
Add the below-mentioned code in the php.ini file –
max_execution_time = 300
Wrap Up
It is, indeed, not a pleasant experience to face issues while using WordPress. But, you don’t need to worry, this tutorial on how to fix common WordPress errors will help you to identify and fix various WordPress issues like a pro.
Also Read:
- Web Hosting Security Best Practices
- WordPress Website Pre-Launch Checklist
- Role of Web Hosting in WordPress Site Security
- Best Managed WordPress Hosting in 2020 Compared
- Managed WordPress Hosting – Pros and Cons You Must Know
- Questions to Ask Before Choosing a WordPress Hosting Company

